Only applicable if your pouch material is Recyclable Transparent Plastic.
There are two ways how partial transparency can be used – your pouch is fully printed and only has a transparent window, or your pouch is transparent and only has some elements printed. In essence it is the same thing, but we recommend different approaches for easier workflow.
4.1. Creating a transparent window on mostly printed pouch
First, “Metallic/Transparent Elements” layer must be turned on.
In Metallic/Transparent Elements layer simply add
elements that must be transparent in your final pouch. It is important that these elements would have white colour (C0, M0, Y0, K0).
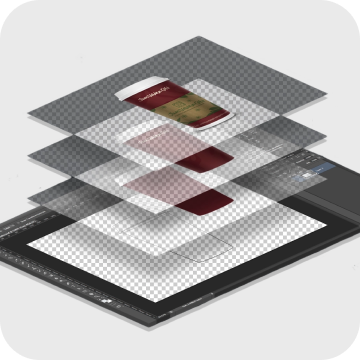
Artwork layer Metallic/Transparent layer Final result
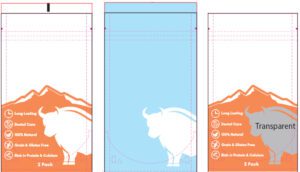
4.2. Mostly transparent background with design elements
Alternatively, your pouch can be mostly transparent with some printed elements. For that to work, all elements should have a white layer printed underneath it.
The simplest way to do it is to copy all your elements to Metallic/Transparent Elements layer and select their colour to be HPI-White. This colour is already available in the template.
It can happen that you need to create additional white elements (for example a rectangle under EAN barcode or QR code). You can do this by adding solid colour elements in the same Metallic/Transparent Elements layer and colouring them with HPI-White colour.
CHECKLIST
Here is a final checklist before you export your print file:
1. Have you used the correct template?
2. Is your layout in the “Artwork” layer?
3. Layer names and order haven’t been modified?
4. Are correct layers “visible”?
• Info OFF
• Guidelines OFF
• Marks ON
• Metallic/Transparent Elements ON for metallic or transparent pouches, OFF for all other materials
• Photocell ON
• Artwork ON
5. Are all colours in CMYK?
6. Are images set to 300dpi resolution?
7. Are all images and graphic elements linked and embedded?
8. Are all fonts outlined?
There are quite a few considerations and a checklist for your print files. You can find all the information here https://lprint.com/guidelines/
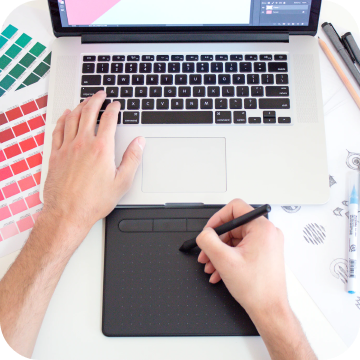
You are creating your own artworks, while we provide templates and guidelines on how to do it correctly and quickly. If you need help with the design work, we also have design service that you can use.
We understand that you might be new to questions of packaging and sustainability. And it can all get quite confusing quickly. That’s why we are happy to dedicate our time to helping you navigate through it all. Contact us for a free consultation and we’ll help you come up with the best result for your business.
You still have active cart items in this language, if you want to switch to the other language, cart contents will be deleted.
You can only reorder items that were ordered in the same language/currency combination you are currently in.
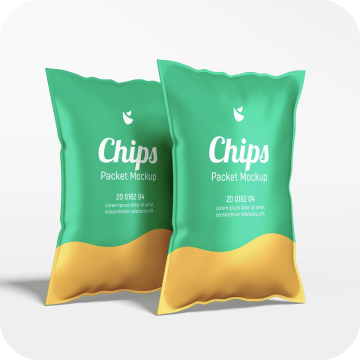
 Stand up pouches
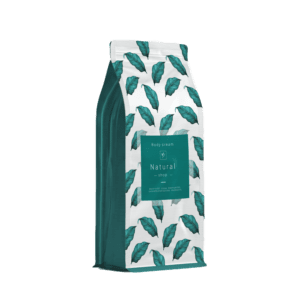 Side gusset pouches
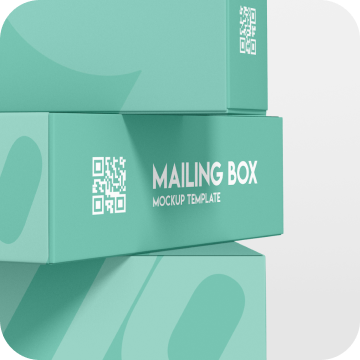
 Custom packaging
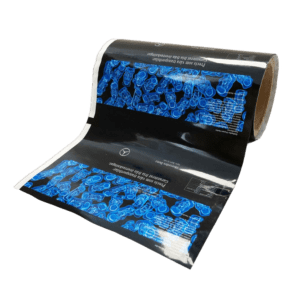 Flexible packaging in reels
 Labels